
For me, painting furniture is not as simple as applying paint,
rubbing it off, putting on some wax and completing the project. There are so many talented folks out there who come to this craft with natural talent and make this process look so easy. I am not a naturally creative person. I operate more from the side of your brain
that uses numbers…abstract concepts are challenging for me. But I am a focused, determined person who is
willing to read, study up on something I find interesting. Thank heavens for the blogosphere and
Pinterest. I have learned so much from
so many people. I especially appreciate
all of the sharing from MissMustardseed , Christen at BlueEggBrownNest and
Amanda at Reloved Rubbish.
With
that being said, while snooping around the internet, I came across a wonderful video from Virginia Weathersby. She is painting a petite lady's vanity/desk
using ASCP. I have watched the video
several times. One of my first
Craigslist purchases was a similar piece.
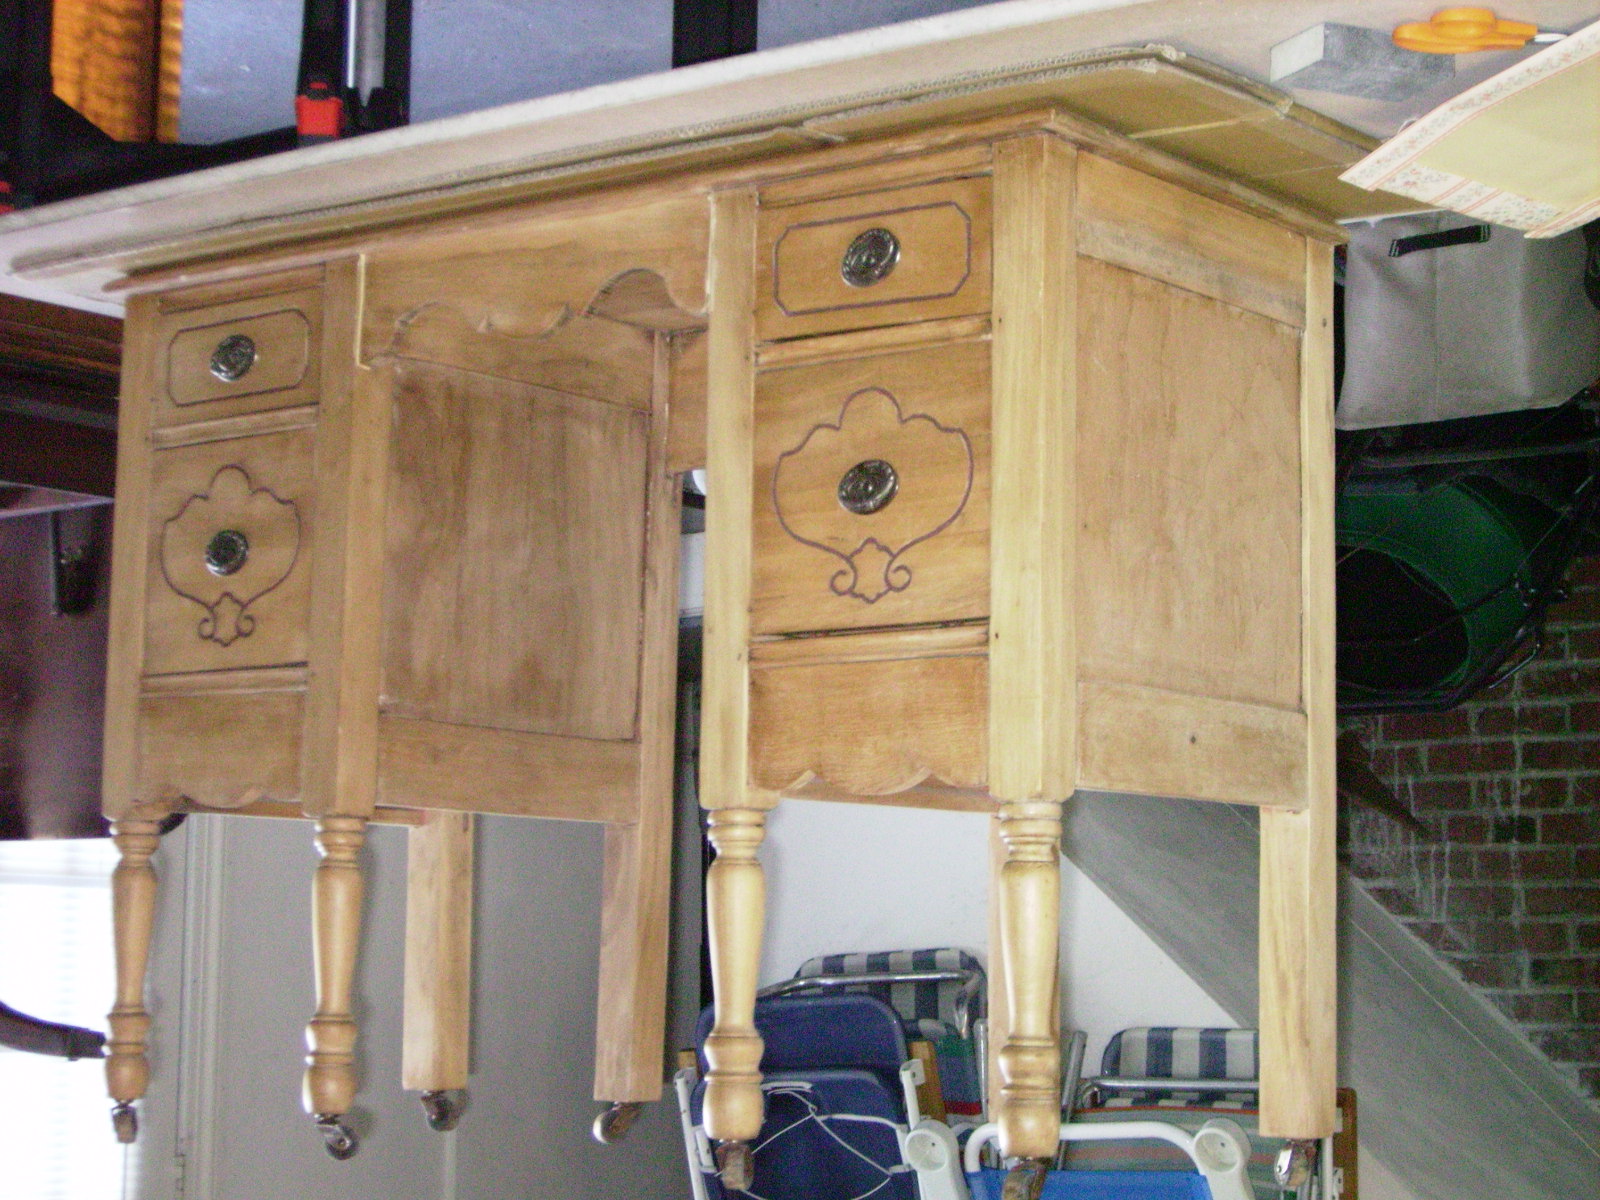

Sorry she looks a little odd! I had already placed her on my workbench when
I remembered to take a few “before” pictures.
By the way, whenever I can, I always start my projects with the item
upside down. I feel like you’ll be more
thorough and see everything that needs your attention. No taking short cuts!
She
was old but in good shape. I liked
the idea of making a custom color, so I went with a 1:1 ratio of Duck Egg Blue
to Paris Grey. I then added Aubusson Blue until I got the shade of blue I had envisioned.
By the way, after I mix paints, I like to put a sample on a stir stick
from the paint store with the “formula”.
It helps me remember what I did for future reference. Also, if you are making a custom color, try
to make enough to complete the project.
If you run short, it may cause some problems trying to get the new batch
to match the original batch!

I didn’t use any shellac on this piece. She didn’t have a deep, dark stain to bleed
through and the deeper color value of the blue mixture also gave me confidence
there wouldn’t be any bleed through. I
worry when I’m using light colors like Old White…seems like I get bleed through
with that color a lot!
I
applied two quick coats on the entire piece and then a light coat of clear
wax. I distressed this piece with 220
grit sand paper after I applied the clear wax.
Distressing after wax gives more of a worn look as opposed to a chippy look. I’m a very gentle distresser,
as you’ll see from future projects. I
generally rub the edges of drawers and a few spots at rounded corners of tops and
legs. I have not used a
hand sander to distress. My philosophy
is “ I’ll start the distressing and let the wear and tear from the new owner
add to it!”

Now
that she has a coat of clear wax and some gentle distressing, I move to the
next step. This tip from Virginia
Weathersby has been most helpful for me.
I mixed in clear wax, dark wax and a small bit of olive green to create
a wax sludge! I am very heavy handed when
applying wax and haven’t had much luck with using the dark wax. Making this mixture was so much easier for me
to manipulate. Hopefully you can see how
the darker wax is accented around the edges of the drawers, dividers between
the drawers, crevices in the turns of the legs.

She
deserves a little sparkle,don’t you think?
Out comes the Renaissance Gold wax to highlight her curves! Just a very slight amount is all you
need! Keep the clear wax handy just in
case you get a little heavy handed!


After some buffing , she is ready to be adopted into a new family.

I think this was another successful case of taking that
which is old and breathing new life into it!
As it turns out, a very nice man bought her as a
house warming gift for his wife. What a
good guy!
Wow, this turned out gorgeous! Thanks for the great tips as well. I, too, am a light distresser. I have watched many videos of the dark wax and just don't care for the heavy applications I've seen. The addition of the gold is perfect, too! Thanks for sharing this... :)
ReplyDeleteHi Janet,
DeleteThanks for your kind words. I am so glad you found the tips helpful. It would be nice if we had one location for all the helpful tips we've all learned along the way! :) If you have some pictures of your work online, send me the link...I'd love to see your work!
Robin