
A few years ago I snapped up this French accent chair from a thrift store.

I loved the gorgeous detail on the back and legs and thought I could make it prettier....one of these days. But it sat, and sat, and sat.
And then came along the lovely and talented Rachel from Shades of Blue. She wrote the most wonderful tutorial on reupholstering French chairs. You can read all about it here:
I eventually spent an afternoon watching football with my hubby, removing staples and welting. One of the better tips Rachel gave in her tutorial was to keep the original fabric in tact and use it as a template. That tip ended up saving this project!
Two years later and with so much snow on the ground, I was desperate for a small, indoor project. The poor, stripped chair got a coat of Old Ochre with highlights in Old White. It just wasn't speaking to me, so I added a custom wash of French Linen and Graphite.


I love, love, love the finish! A little clear wax, dark wax, and some Old White dry brushing was bringing my two year vision to life. Now for the reupholstering.
As I mentioned, Rachel provided so a smart tip by encouraging any DIYer to keep the original fabric to use a template. Here is a picture of the new fabric cut slightly larger than the original piece.

I was afraid to cut it too close, but didn't want to have too much excess, either. It's about 1/2 inch larger than the original piece. Now it's time for my trusty nail gun:

I've had this guy for over 20 years! In my previous life, I had a soft furnishings business for a few years and used it to staple valences to cornice boards! He's been a trusty friend throughout the years! Nothing fancy, but he gets the job done! :)

That's the only decent picture I got before adding the trim. You can see how creating the pleats above the legs is like wrapping a package....
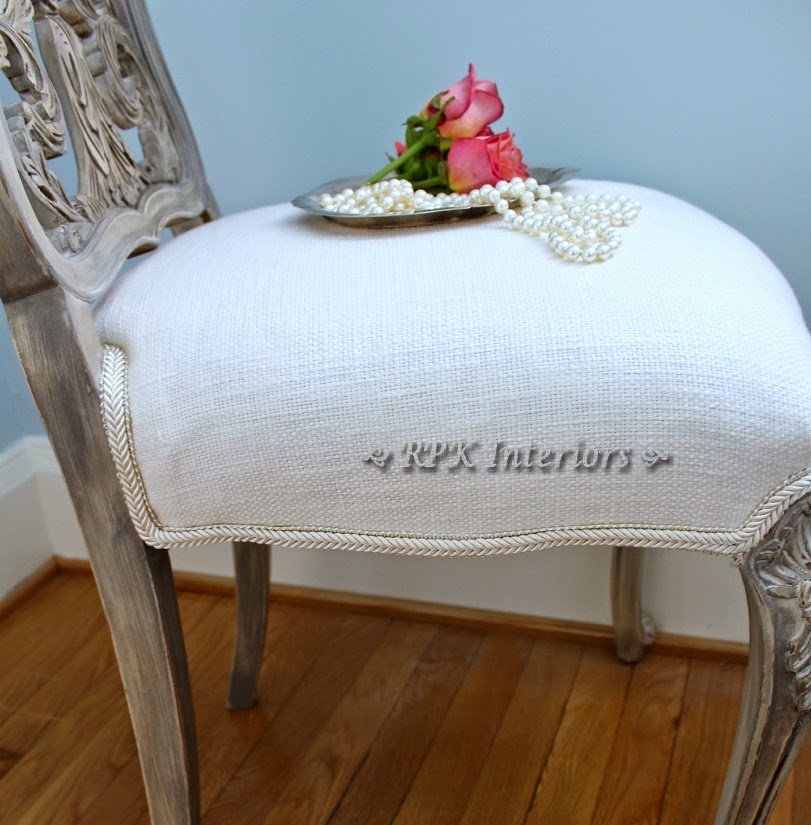
And here she is...all done....
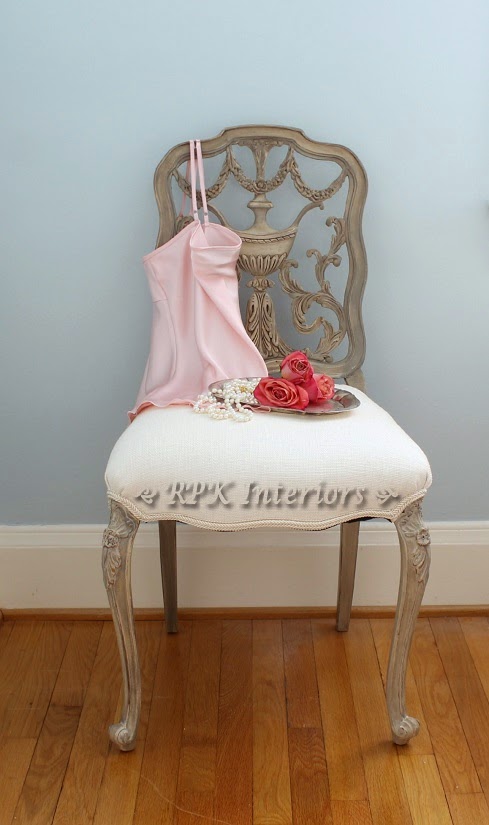


It so happens as I was finishing this up, Marian and Kriste at MissMustardseed were finishing up a wonderful 5 or 6 part video tutorial on reupholstering a French style chair. If you are contemplating tackling a project like this, I strongly suggest taking a minute to review Rachel's tutorial or Marian's. They both share very valuable and helpful information.
This is one project where I have an amazing sense of satisfaction and accomplishment! Thank you, Rachel...You are a dear for sharing so generously your experience and lessons learned!
Thanks for stopping by!
Robin
Linking up at:


